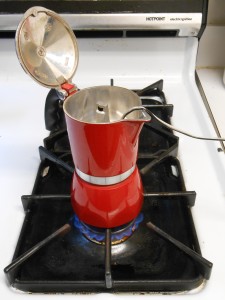
My girlfriend uses a “Moka Express”-style stovetop Bialetti espresso-maker most mornings for her cappuccino. These devices are wonderful, reliable, and simple, but they have a nearly fatal flaw. A basin collects the espresso as it condenses, and for the five minutes before the steam brewing happens, there will be no indication of anything happening. Then espresso will start to quietly gurgle up, and if you don’t stop the process in the 20 seconds after it starts, the drink will be ruined.
I built a simple device to solve this problem. It has two wires that sit in the basin, and a loud buzzer that sounds as soon as coffee touches them.
How it works
Here is the circuit diagram for the coffee buzzer, designed to be powered by a 9V battery:
The core of the coffee buzzer is a simple voltage divider. Normally, when the device is not in coffee, the resistance through the air between the two leads on the left (labeled “LOAD”) is very high. As a result, the entire voltage from 9V battery is applied to that gap, so that the voltage across the 500 KΩ resistor is 0.
The IRF1104 is a simple MOSFET, which acts like a voltage-controlled switch. With no voltage across the resistor, the MOSFET is off, so the buzzer doesn’t sound.
To turn the MOSFET on, the voltage across the 500 KΩ resistor needs to be about 2 V. As a result, anything between the two LOAD leads with a resistance of less than about 2000 KΩ will cause the buzzer to turn on.
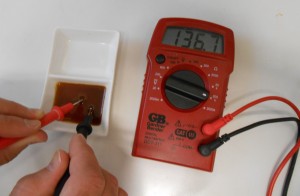
Coffee resistance seems to vary quite a bit, and the 137 KΩ shown here is on the low end. For this, you need a resistor of at least 40 KΩ. I suggest using something higher, so the detector will be more sensitive.
What you need
Tools
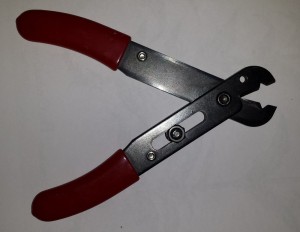
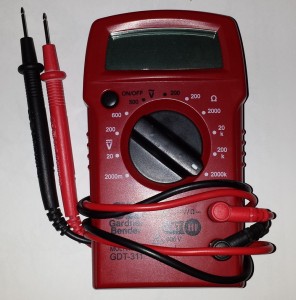
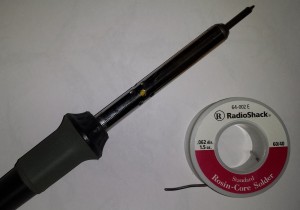
You will need wire-strippers, a multimeter (to check your circuit), and a soldering iron (to put everything together).
Parts
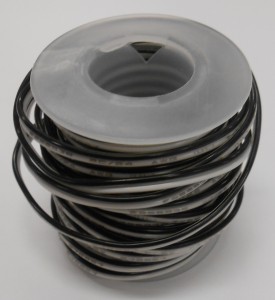
These wires will be the main detector of the coffee buzzer.
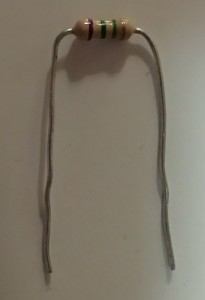
Here I use a 1500 KΩ resistor, so the buzzer will sound for resistances less than 5000 KΩ will be detected. Make sure that you use a resistor of more than 300 KΩ.
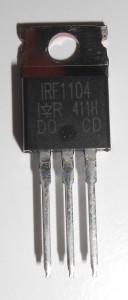
The MOSFET is a voltage controlled switch, and it’s what allows the buzzer to get plenty of current even though there’s a lot of resistance for current moving through the coffee.
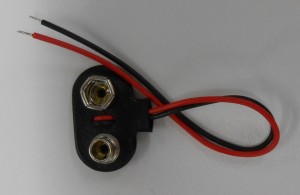
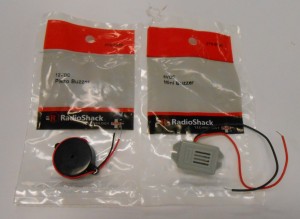
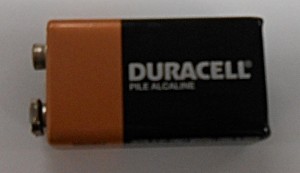
You can get a 9V battery connector (top) and a buzzer (middle, rated for between 4 and 8 V) at RadioShack or from DigiKey. And, of course, the battery itself (not included).
Optional (but highly recommended!)
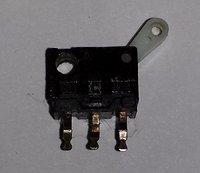
A simple switch (which may look very different from this one) is a great way to build an integrity tester into the device itself.
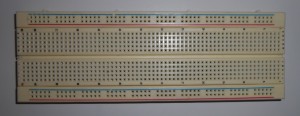
A breadboard will let you put the whole circuit together and test it before you solder it.
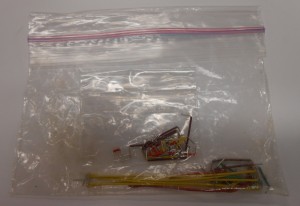
Wires like these make plugging everything into a breadboard easier.
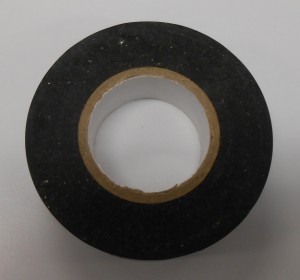
I suggest taping up the whole device after you solder it, both for protection and to keep everything in one tight package.
How to make an Espresso Buzzer
Start by preparing the detector wires (the black and white wires above). Take at least 30 cm of wire, so the device can sit on the counter away from the flame. Use the wire stripper to strip one end of the wires for use in the circuit. You may want to strip the “detection” end, or not: if you leave the detector end unstripped, the buzzer won’t go off prematurely when if both wires touch the bottom of the basin, but you’ll have to wipe off the end of the wires to get them to stop buzzing once they have started.
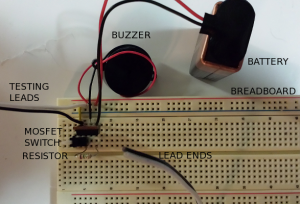
Now connect all of the pieces on the breadboard. Here’s one arrangement:
If you aren’t sure how to use a breadboard or how to read a circuit diagram, you can still make the buzzer by skipping this step and soldering the wires together as specified below.
Once everything is connected on the breadboard, you should be able to test the coffee buzzer. If you use a switch, pressing it should make the buzzer sound. Then make a little experimental coffee, and dip the leads into the coffee to check that it works.
Next, solder it all together. As you can see in the circuit diagram, you want to solder together the following groups of wires:
- Ground: The black wire from the battery connector; one wire from the resistor; and the source lead on the MOSFET (furthest right).
- Power: The red wire from the battery connector; one wire from the buzzer; the (stripped) circuit end of one of the detector wires; and optionally one end of the switch.
- Gate: The (stripped) circuit end of the other detector wire; the other end of the resistor; the gate lead on the MOSFET (furthest left); and optionally the other end of the switch.
- Buzzer: The gate lead on the MOSFET (middle); and the remaining wire to the buzzer.
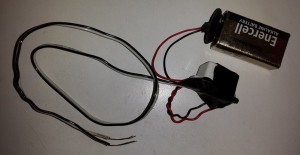
After you have soldered everything together, test it and then wrap tape around it all.
The results
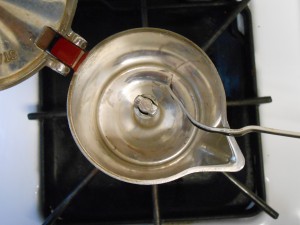
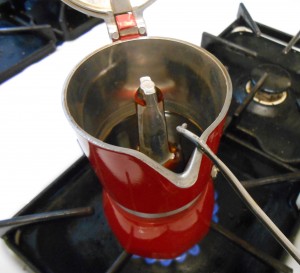
That’s it! Now, to use it, place the detector leads at the bottom of the coffee basin. I suggest putting a bend into the wires a couple inches from the end, so they can sit easily in the basin. If you’ve stripped the ends, the buzzer may buzz when the leads touch the base, but if you just let them go at this point, one wire will sit slightly above the other and just millimeters away from the bottom for perfect detection.
As soon as the coffee reaches a level where both leads are submerged, the detector will start buzzing!
Enjoy!




0 responses so far ↓
There are no comments yet...Kick things off by filling out the form below.